Lives and Legacies

Tag: sherds

  • Seeing The Big Picture:  How Excavated Ceramics Informed The George Washington Foundation’s Acquisition of Complete Pieces for Display

    The archaeology and curatorial departments for The George Washington Foundation have long worked together to furnish the reproduced Washington house with historically accurate items that resemble as closely as possible the ones that George and his family would have lived with daily. These pieces are not originals, which means visitors touring the house can handle them.

    Go ahead and touch everything.

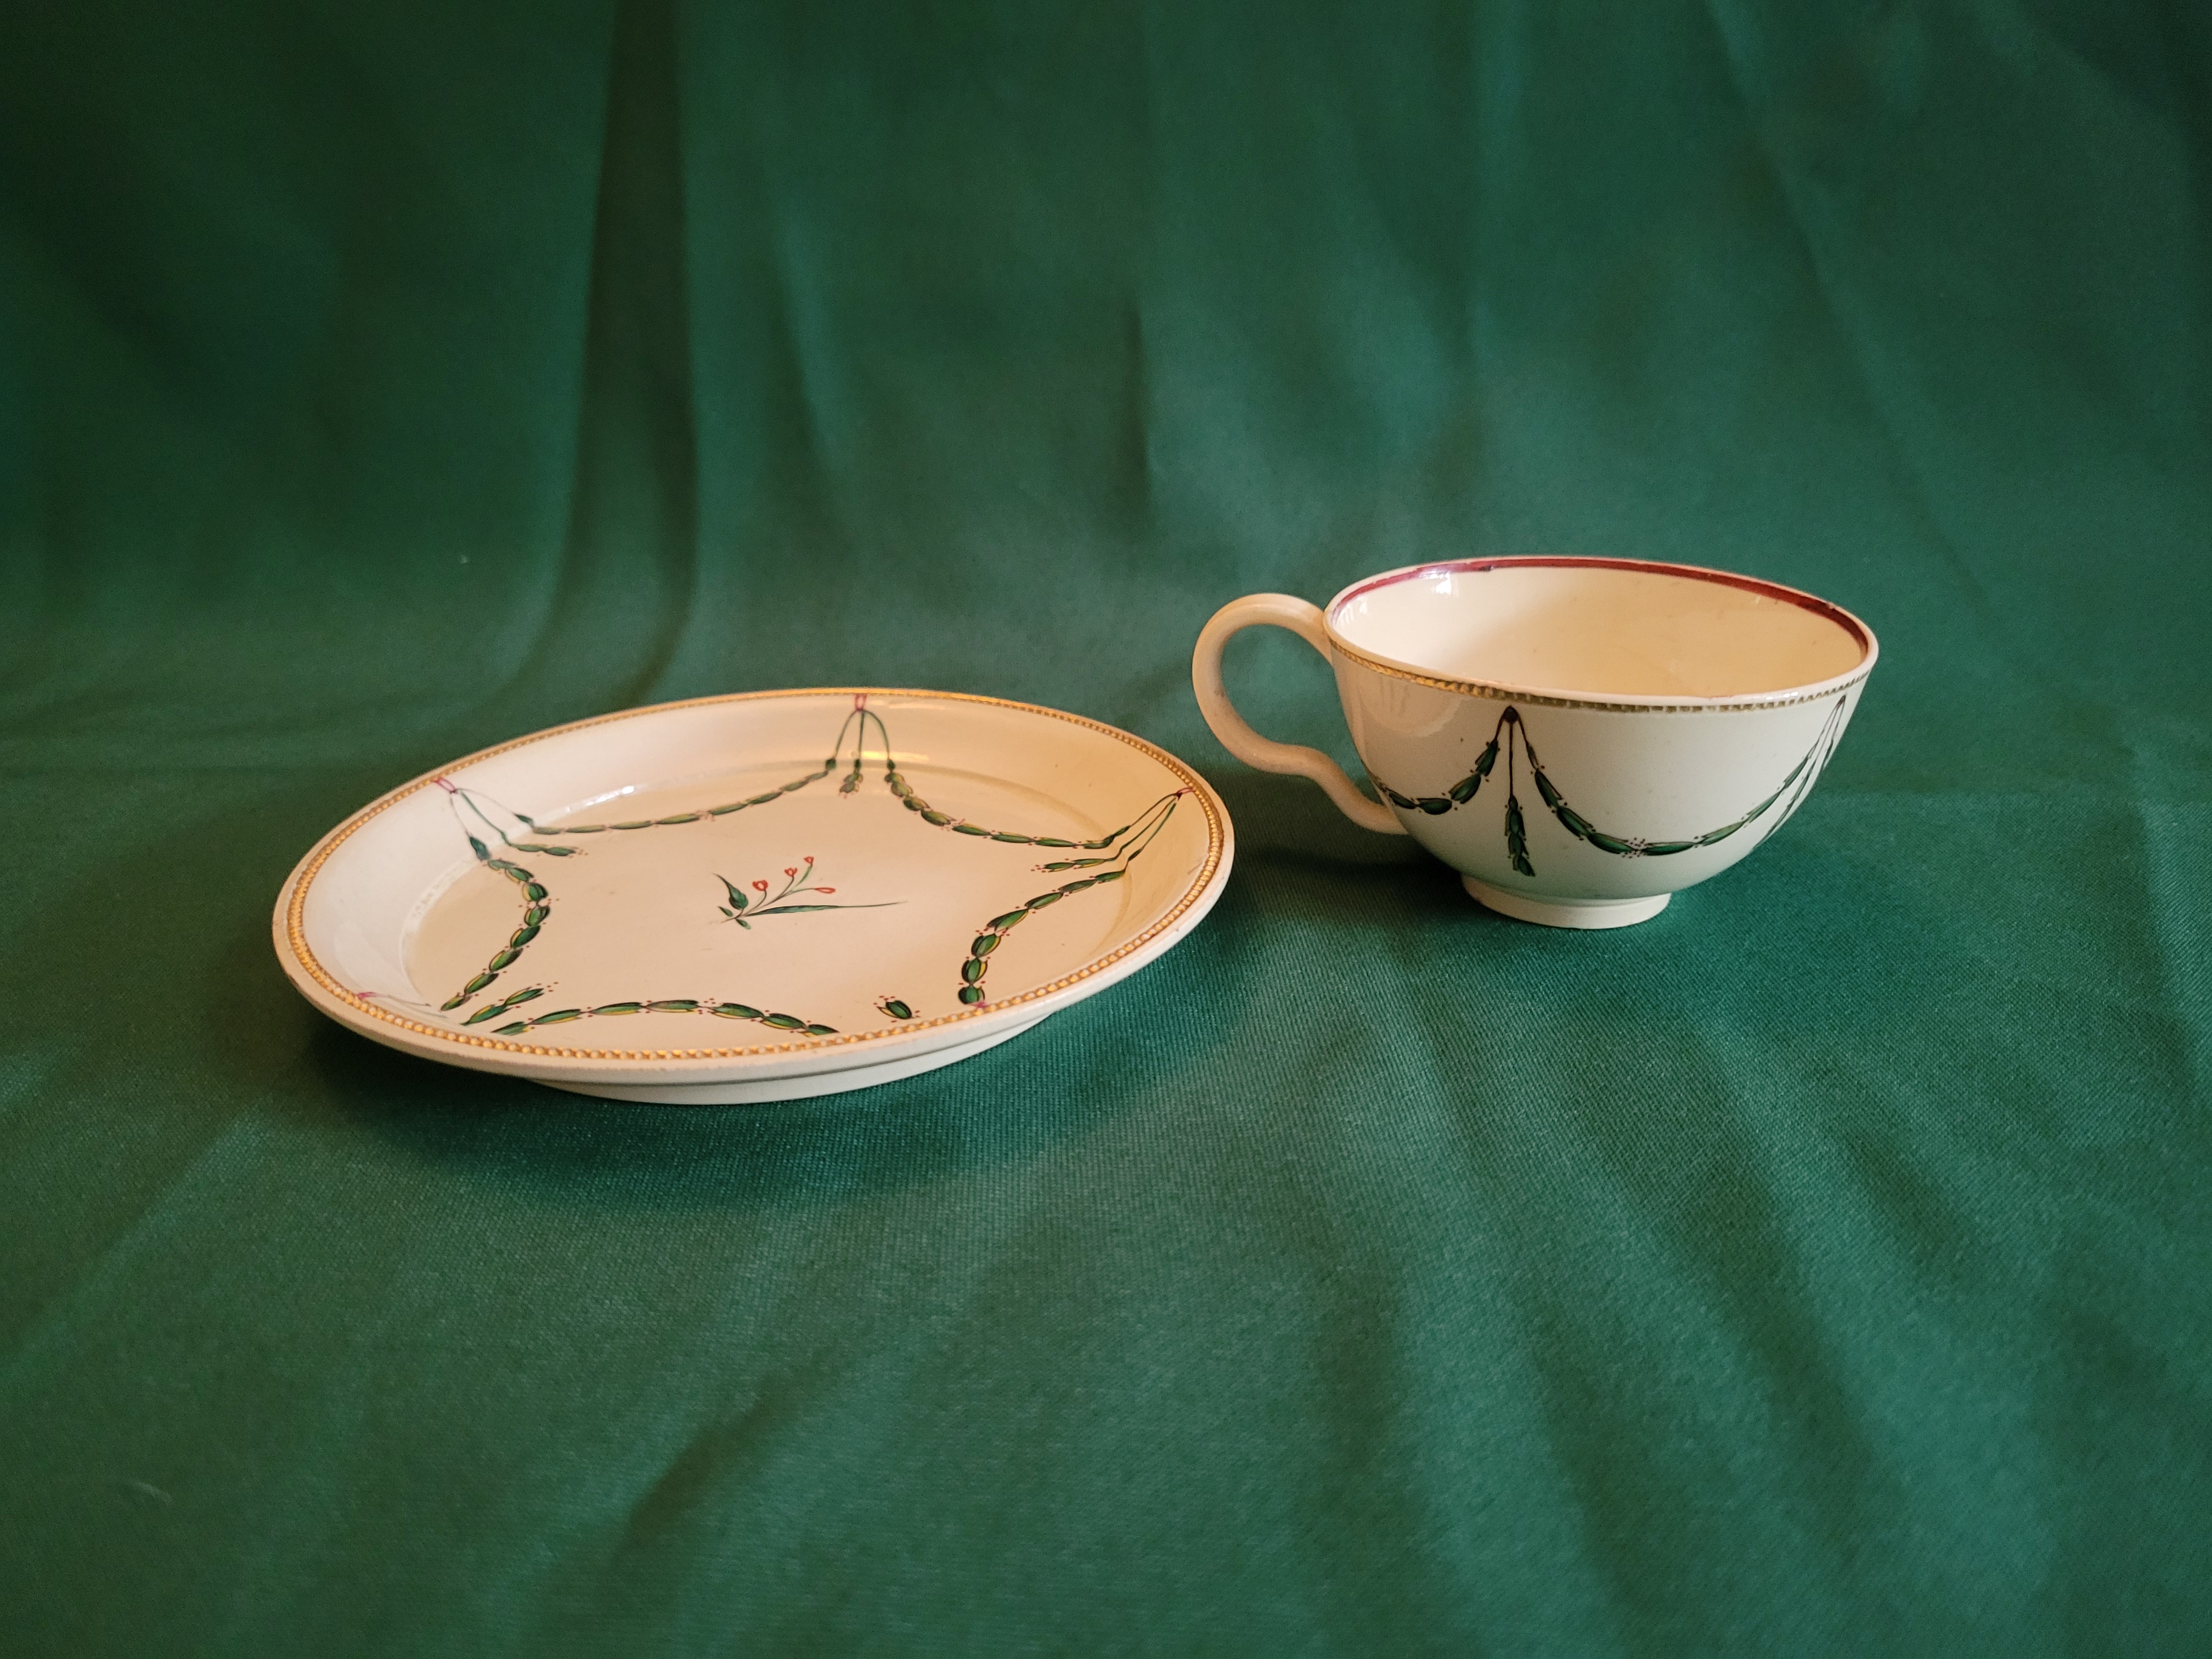
    In our latest collaboration we’ve been examining sherds of ceramic vessels owned by the Washington’s to obtain actual eighteenth-century dishes. We want to display these dishes in our gallery to give visitors an idea of what the whole vessels looked like. Four such ceramics have recently been acquired at auctions by the Foundation and you can see them first here along with the excavated remnants they resemble.
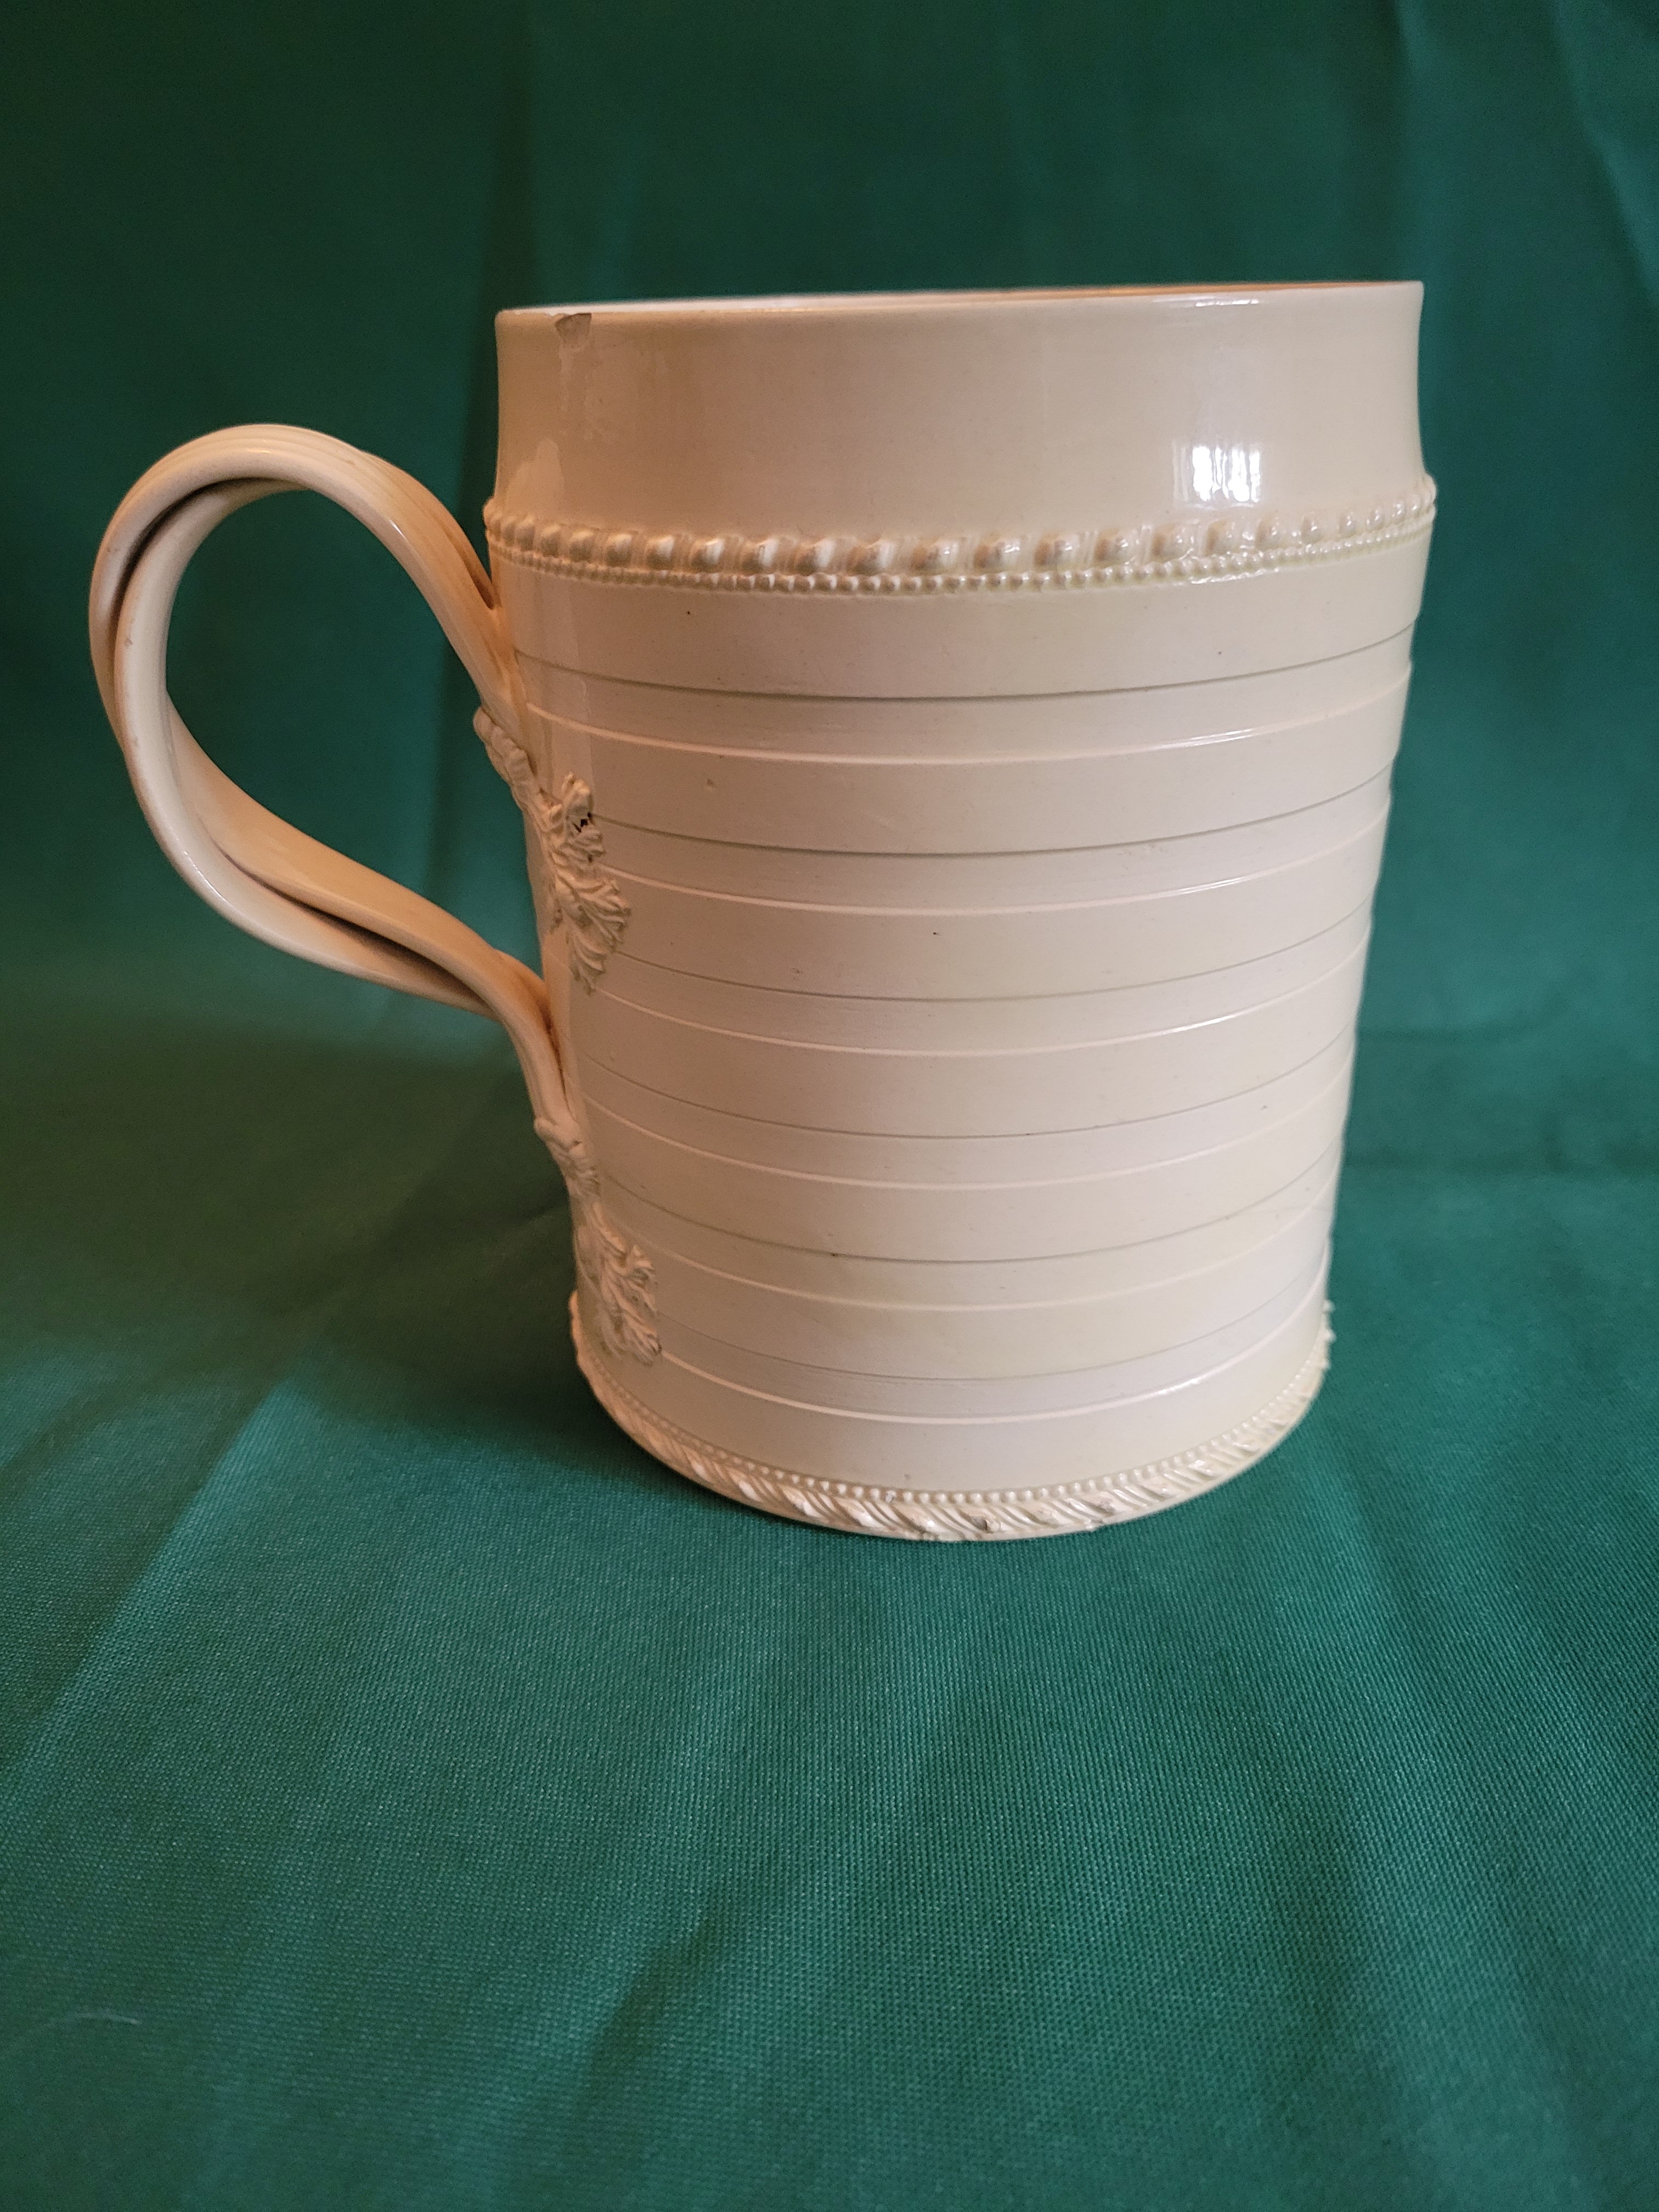
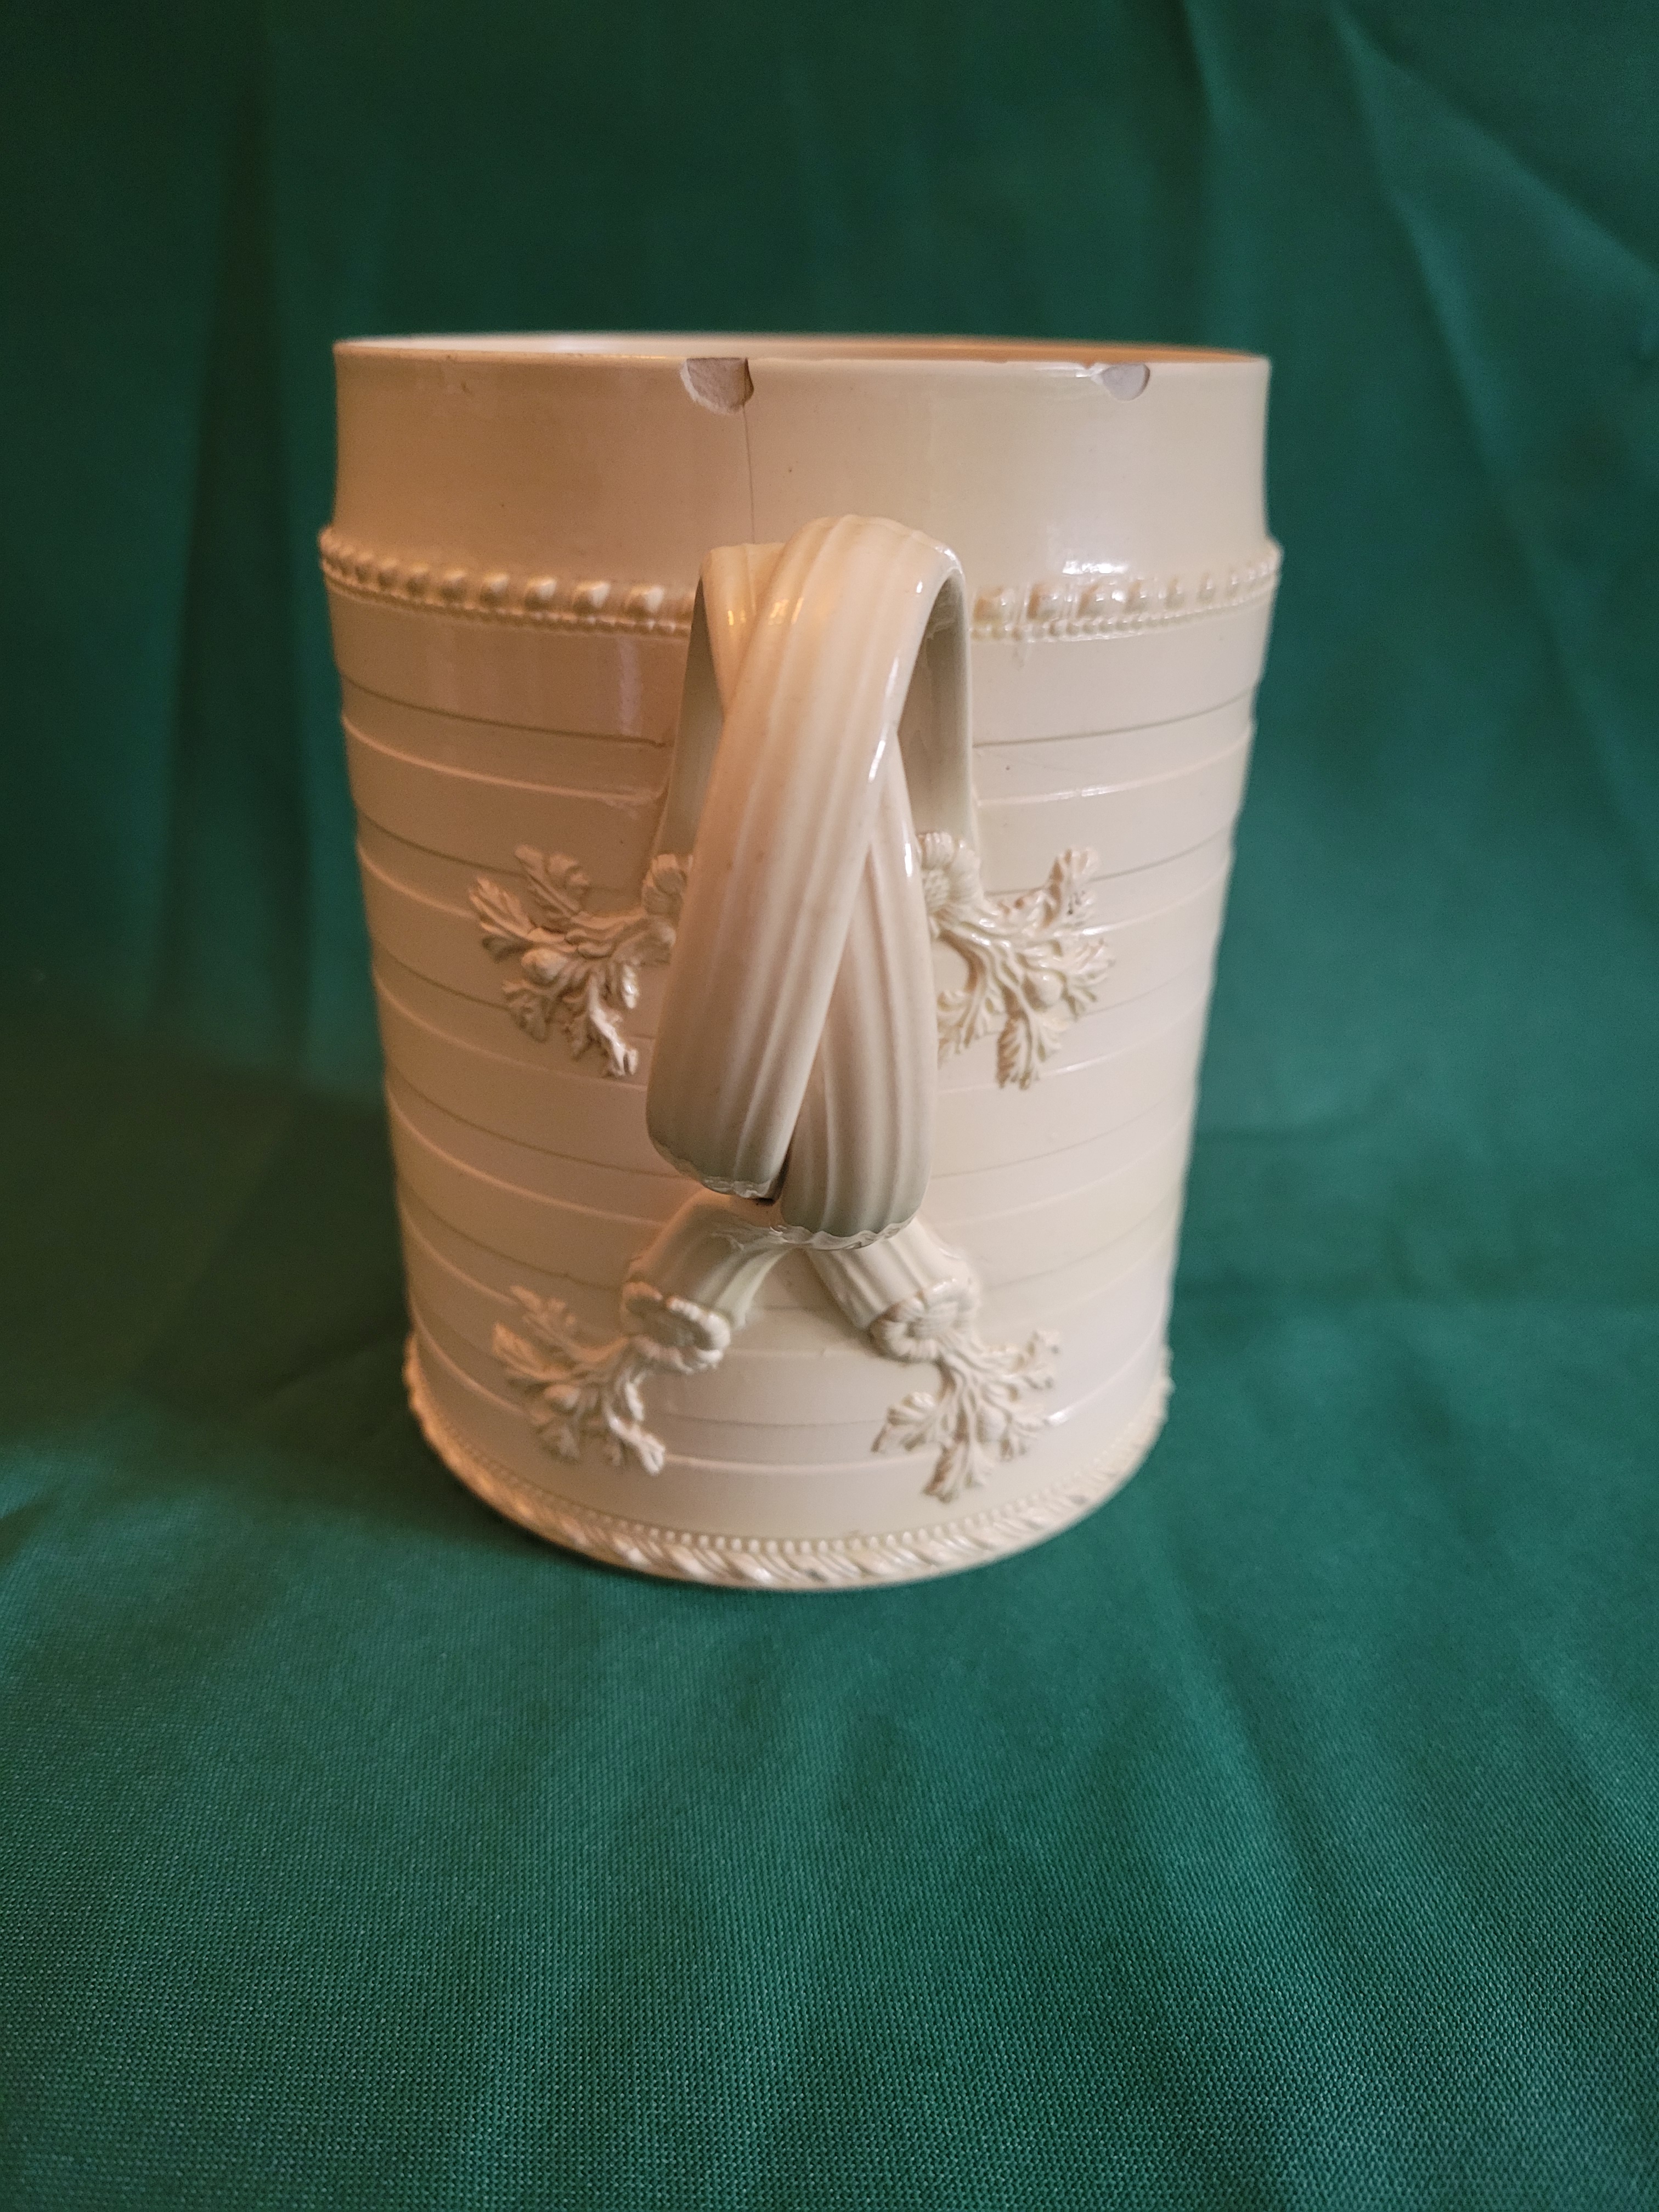
    Three of our acquisitions are a type of English ceramic called ‘creamware,’ which was invented in the early 1760’s and was very popular with George’s mother, Mary. Both this lovely pitcher and mug exhibit decorative elements represented by our excavated ceramics. Most prominent are the elegantly curved handles that terminate in delicate strawberry flowers. At least two vessels with these types of handles have been recovered at Ferry Farm. The first is a highly decorative creamware sauce boat and the second a petite teacup, both of which were considered quite fashionable for the time. The jug and teacup also share a common form of decoration called a ‘beaded rim.’

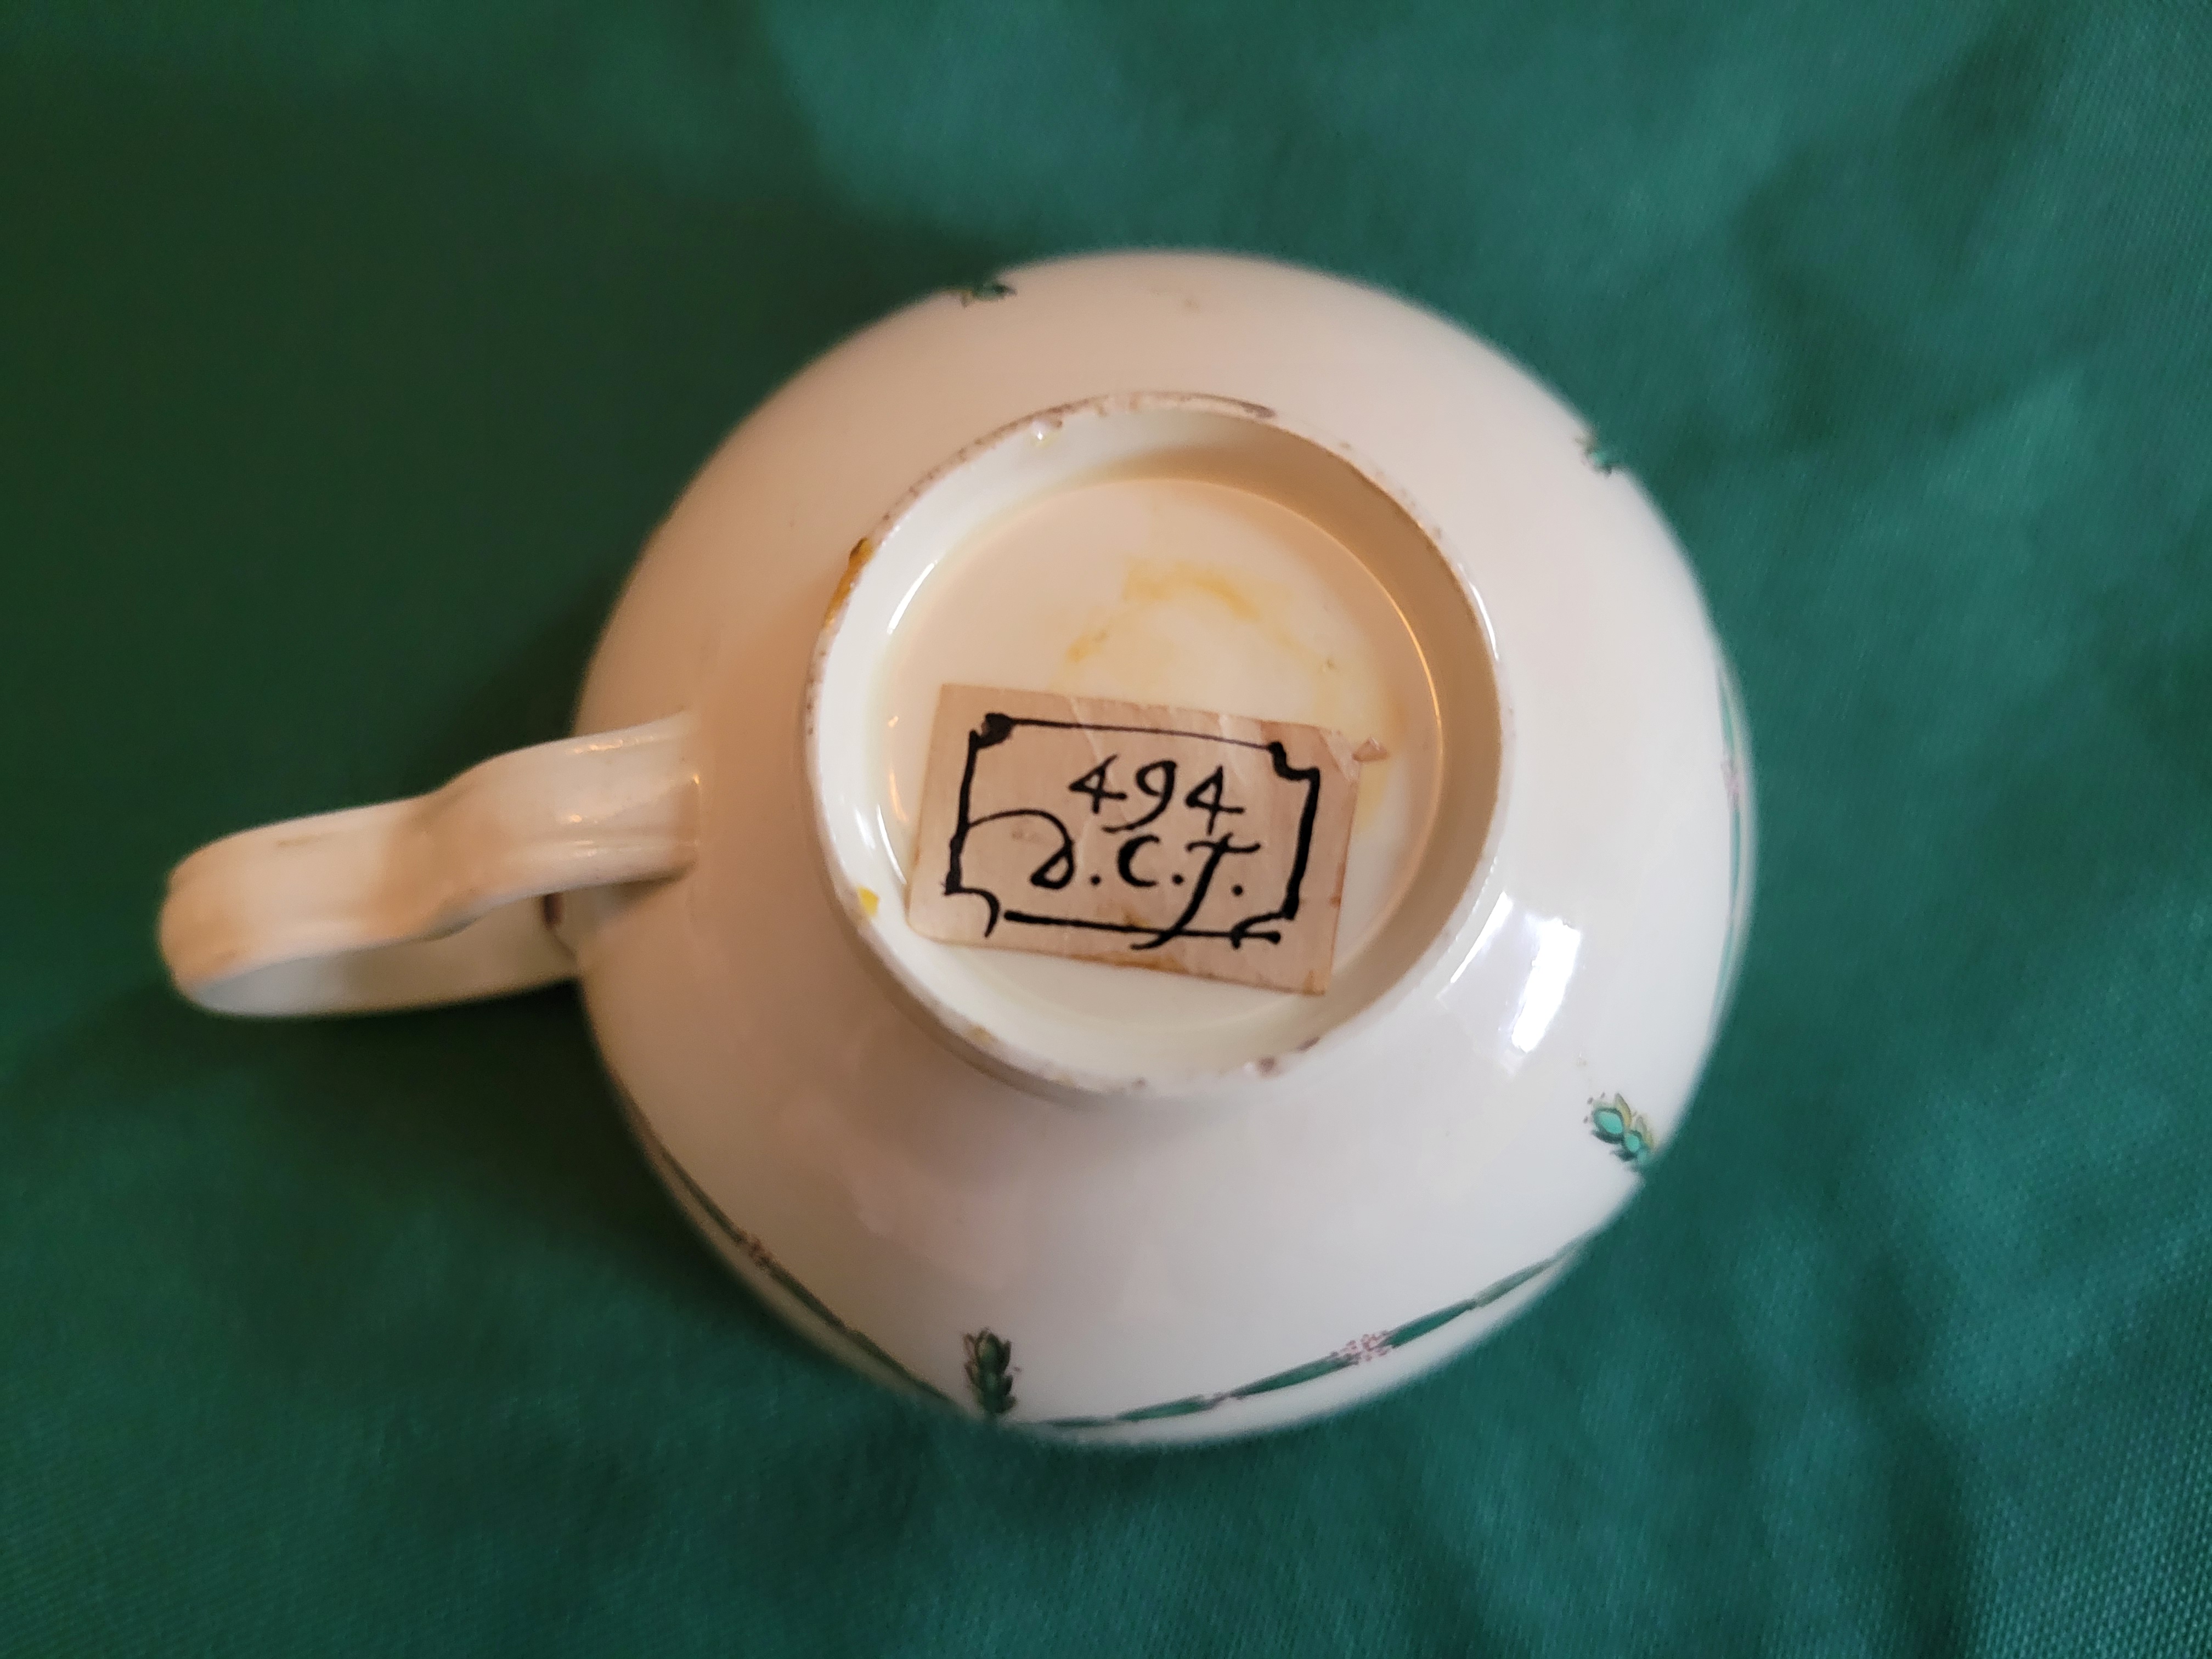
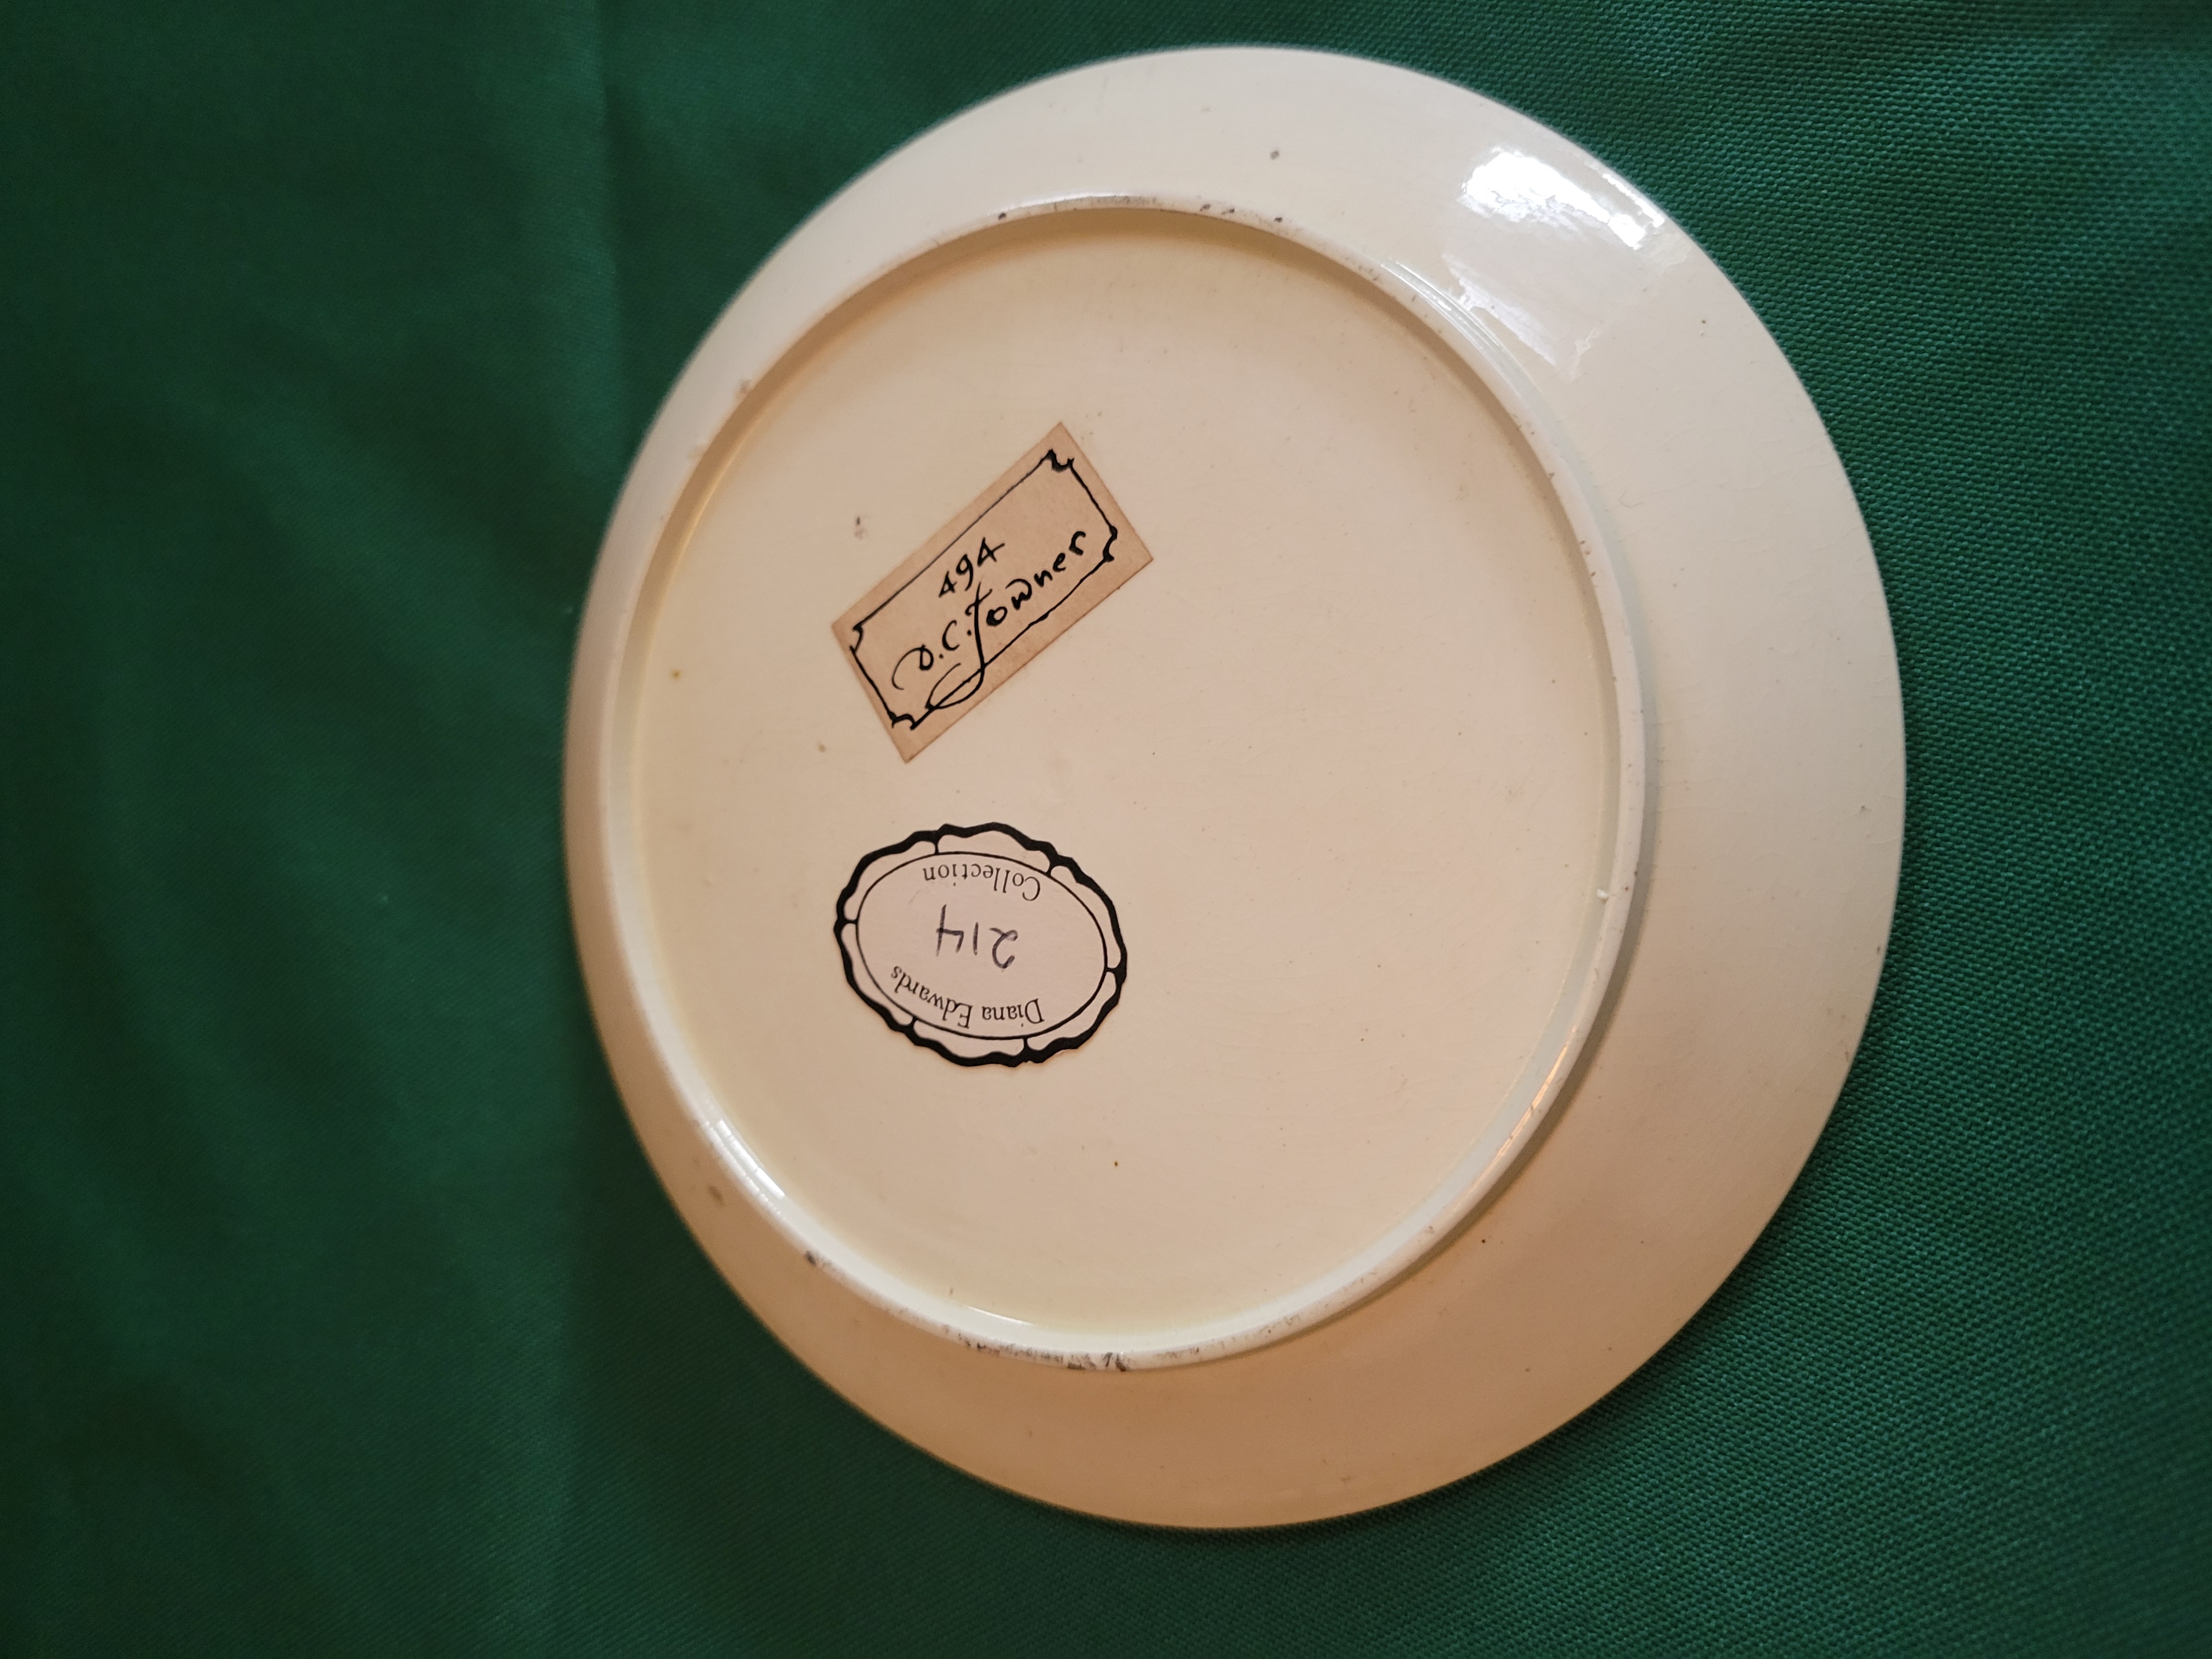
    Another teacup owned by Mary was this beautiful piece hand-painted with a detailed swag motif. But from the sherds it’s difficult to really appreciate how graceful this decoration is. Luckily, our curators hunted down a similar cup and saucer with the same decoration, which is unusual. The saucer also features a beaded rim that has been filled in with gold gilding, although we believe the gold to be a later addition to the piece. The cup and saucer also have handwritten tags affixed to the bases which indicate they had the distinction of having been in the collection of a well-known (at least to ceramics geeks like yours truly) collector of creamware. This man by the name of Donald Towner had written extensively on the topic of English ceramics and over his career had amassed a large study collection, of which this was one. His book on the Leeds Pottery in England features a catalogue from the pottery that includes many of the decorative elements and shapes discussed above (Towner, 1965).
    But my favorite is this delightfully potbellied creamer with three legs featuring lion’s heads and paws for feet. The ceramic type in question is called Whieldon and started to come on the market in England around 1749. Of note is the raised molded leaf decoration which resembles one sherd from our collection. While we may never know the exact type of vessel our leaf came from, the complete creamer gives one a better idea of how the decoration was placed and looked. Mary’s choice of ceramics played a large part in emphasizing her and her children’s place among the Virginia Gentry and we’re very pleased to have some whole examples now to help illustrate to visitors just how lovely some of these dishes were!

    Mara Kaktins, Archaeologist & Lab Manager


    Bibliography

    Towner, Donald.  The Leeds Pottery, 1965.  Taplinger Publishing Co., Inc., New York. 
  • Mending Practice at Ferry Farm’s Archaeology Lab: A Photo Journal

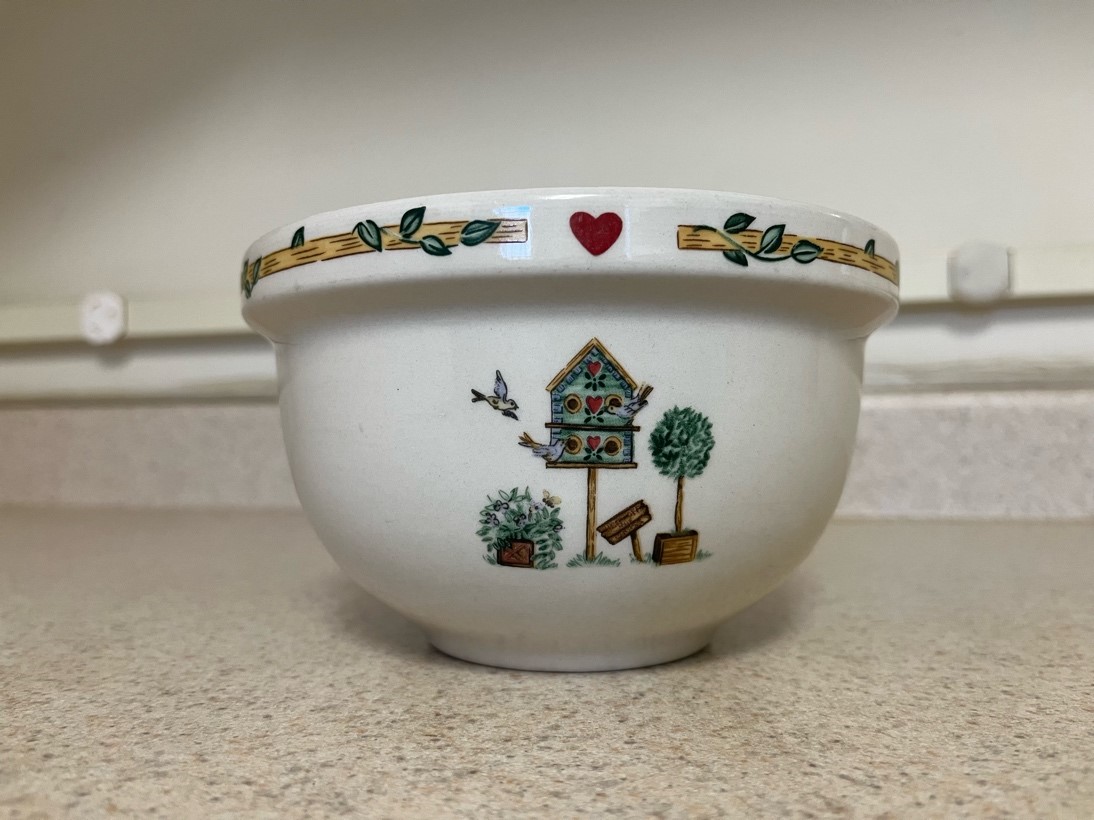
    If you visited Ferry Farm on October 21, 2022, you may have heard a loud crash coming from the archaeology lab – don’t worry, it was on purpose! During my fall semester internship at the Ferry Farm Archaeology Department, I had the pleasure of learning how to mend ceramic vessels, and like any skill, practice makes perfect. I purchased a cheap ceramic bowl from Goodwill and purposefully shattered it so I could practice putting it back together again. Follow along as I take you through the process!

    Bowl in one piece before being broken

    Here is what the bowl looked like when I first bought it – in one piece! I chose this bowl because it was a good size: not too big where it would be too long of a project, but not too small where it would only take a few days to complete.

    Breaking the bowl

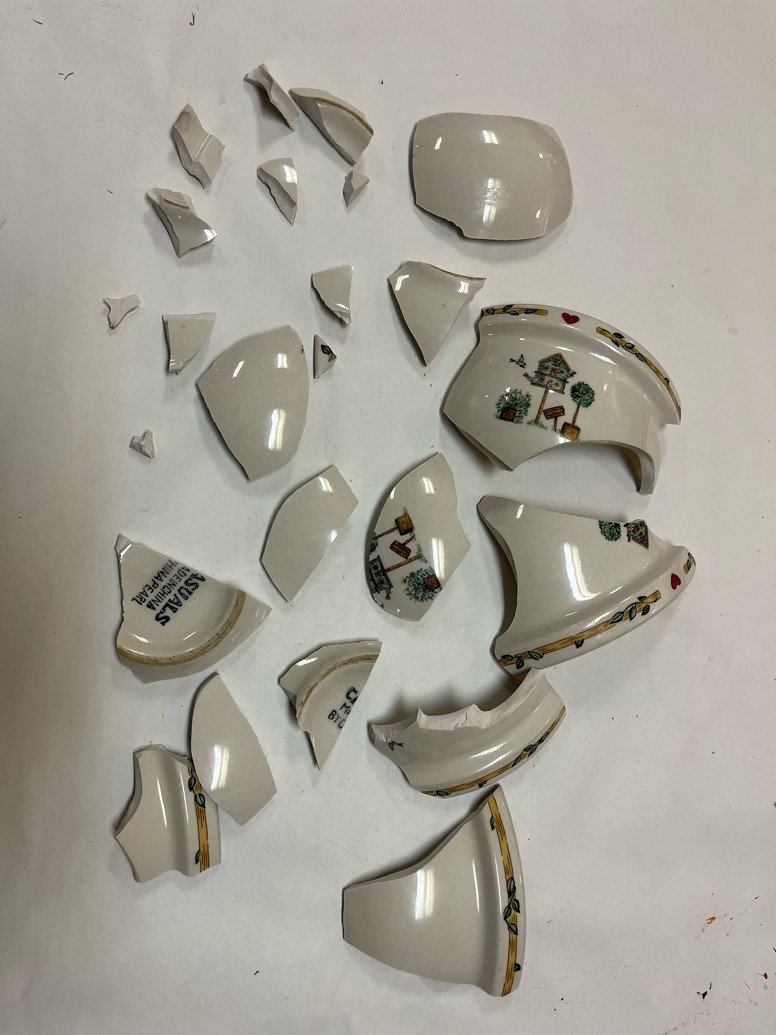
    Next came the fun part: breaking it! I placed the bowl inside a plastic bag so that all the pieces would stay together. Then, against my natural instinct, I threw the bag onto the ground and broke it into pieces!  Notice how some are larger than others- this means that I had to be very careful as to not accidentally exclude a small piece from the entire bowl.

    Taping sherds

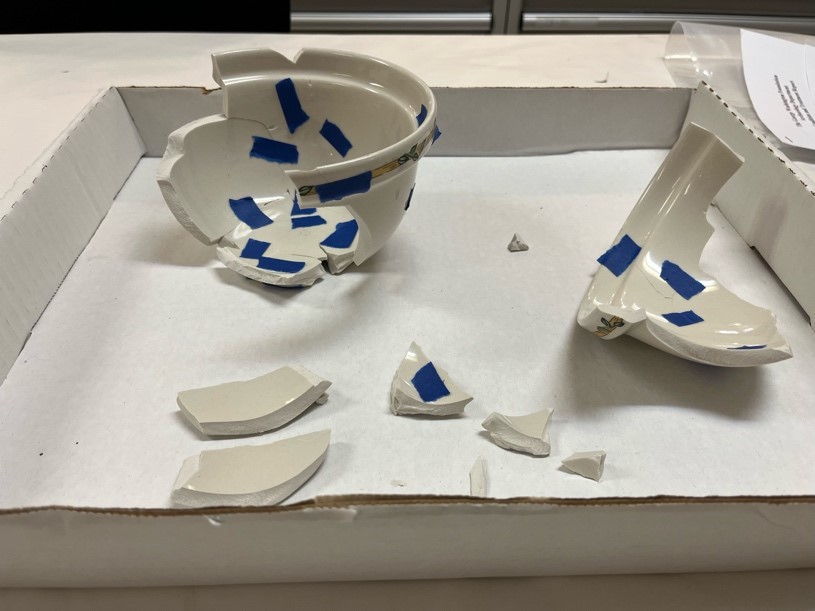
    After collecting all the sherds, my next step was to figure out where everything goes by taping the sherds together. This process allowed me to plan out the order in which the sherds would be glued together.  I used blue painter’s tape to do this because it doesn’t leave residual adhesive on the surface of the sherds. This same tape is used when mending the ceramics found archaeologically at Ferry Farm. 

    More taping

    More taping… it’s coming together!

    Here is the completed bowl after taping! Once all the sherds were back in their rightful places, it was time to carefully plan out how I wanted to glue them. When mending, you don’t want to just start gluing together the first pieces you know fit together. It is important to take into account the shape of the vessel so that you leave as few gaps between the sherds as possible. I developed a plan to start from the base and work my way up to the rim of the bowl. With this done, it was time to start gluing!

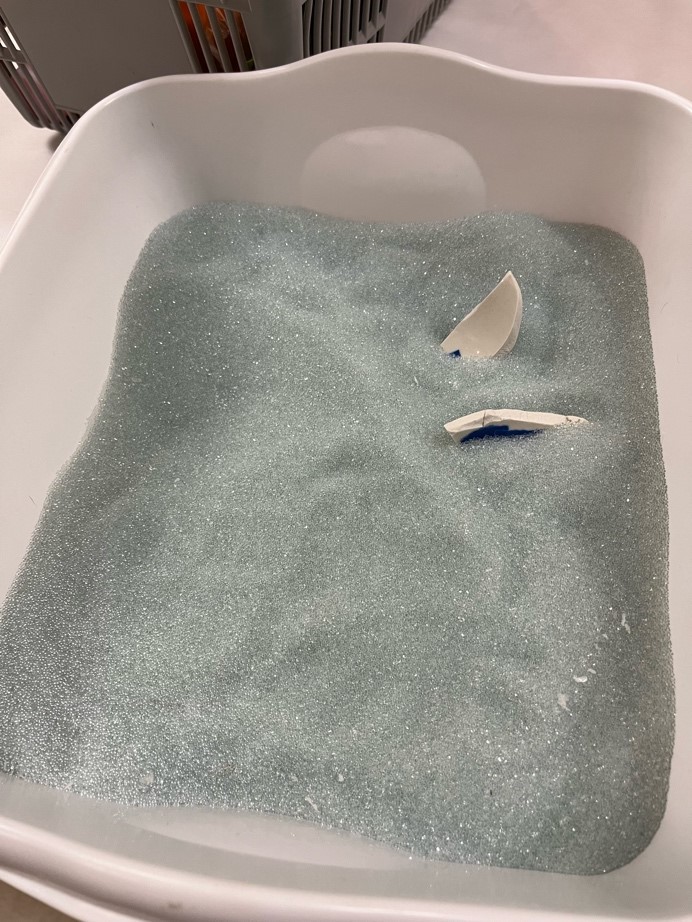
    It is protocol in the Archaeology Department to mend ceramics using a reversible method. The glue I used was a solution of 35% B72 in acetone, which is removable with acetone. I started by coating the broken edges of the sherds with a less concentrated solution of the glue, 5% B72 in acetone. This prepped the sherds to have glue applied to it. After this, I applied 35% B72 to only one sherd to be mended and then held it together with its neighbor. After 10 seconds of holding the sherds together, they were sticking quite nicely. I then placed a few pieces of painter’s tape to ensure the glue would hold, and placed the freshly glued sections into a bucket filled with glass beads.

    Glass beads…yes, everyone who goes to the lab runs their fingers through them.

    The glass beads hold the glued sherds together and prevent them from shifting as the glue dries. I repeated this process for all the sherds over the course of a few days until…

    Finished glued bowl

    …the gluing was complete!

    Here is the final product! Now, no mend is ever going to be perfect. Once a vessel is broken, there will always be misaligned sherds in the vessel due to the tension of the entire piece being broken.

    So, why do we mend ceramics in the first place? It can help archaeologists understand what types of objects a site’s occupants would have used and what activities were taking place. It is also an important process in public interpretation: mended ceramics can help the public see what certain vessels would have looked like during a site’s target period of significance.

    Finally, keep in mind that what I did with this bowl was only practice: actual mending with sherds excavated from an archaeological site does not go as smoothly as this. Only a small percentage of a vessel is typically found and thus able to be mended. The reason why so few sherds of one vessel are found is because decades and centuries of being in the ground allows for sherds to get mixed up and moved due to bioturbation (movement of soil by animals such as rodents and insects), erosion, and in some cases, agricultural plowing.

    If you would like to see more on mending at Ferry Farm, be sure to check out past programs that we have done: mending | Lives & Legacies (livesandlegaciesblog.org)

    Katharine Bogen, UMW ‘23

    Fleming Smith Scholar